The Process and Craftsmanship Behind Hand-Cut Puzzles
A handmade puzzle is made by cutting a wooden board piece by piece with a scroll saw, and every line is guided by human judgment and control. This article covers, in turn, its definition, tools, line drawing and planning, cutting rhythm, edge finishing, and how it differs from machine-cut puzzles.
Key takeaways
-
Keep the Sawing Steady Apply pressure on the downstroke and relax on the upstroke, keeping an even rhythm and a consistent feed pressure, to get a cut of uniform width.
-
Finishing and Testing Sand the edges only enough to remove burrs, then assemble the whole puzzle once to check how each piece fits, so flaws can be spotted early and fine-tuned.
-
Handmade and Machine-Made Each Have Their Strengths Machines favor consistency and volume, while handwork stands out for flexibility of shape, cut-surface quality and individual character. Choose according to purpose.
What Is a Handmade Puzzle?
A handmade puzzle generally means a puzzle made by operating a scroll saw by hand, cutting a board with a mounted image apart piece by piece along pre-planned lines. The key point is that a person, not a program or a die, decides the cutting path. As a result, the shape, size and connections of the pieces in each puzzle reflect the maker's judgment. This is fundamentally different in logic from mass-produced puzzles.
As for materials, handmade puzzles mostly use wooden boards, commonly multi-layer plywood, because its layered structure is less prone to warping and better withstands the stresses of sawing. The image is usually bonded to the board first and then cut, so that the picture and the pieces form a single whole. The thickness of the board, the direction of the grain and the quality of the glue all affect how the sawing feels and how durable the finished puzzle is.
A handmade jigsaw puzzle is not necessarily rough or imprecise. What defines it is that the process stays in human hands, so the cutting pattern can be adapted to the image. For example, shape variations can be added in areas of similar color, or unique pieces can be designed for particular motifs. This flexibility makes handcrafting well suited to adult puzzles, especially those that aim for high difficulty, irregular shapes or artistic expression. Understanding this definition helps make sense of each step in the process that follows.
The Scroll Saw and Other Common Tools
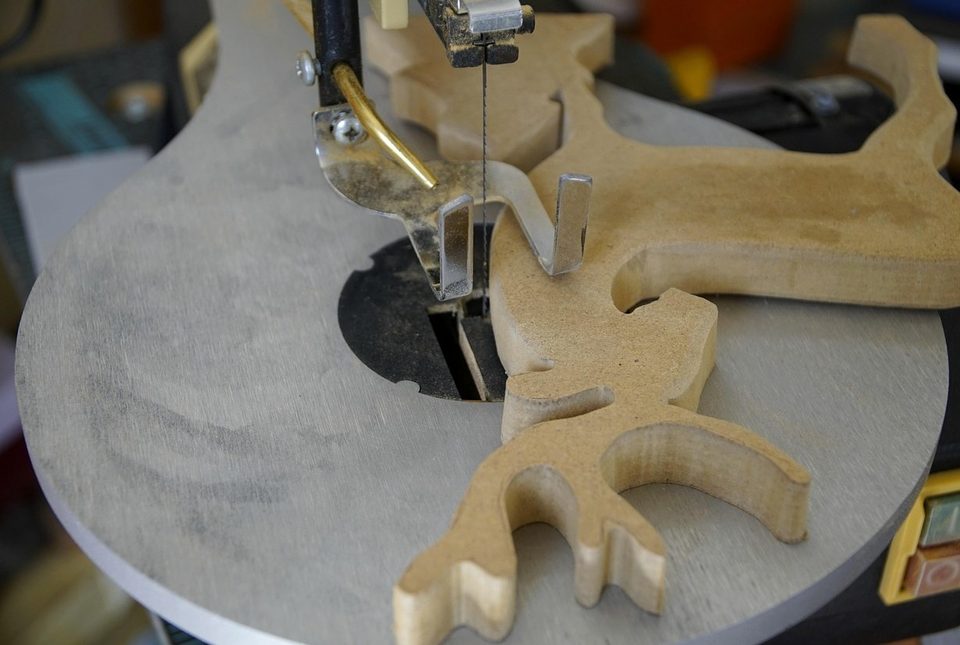
The main tool for hand cutting is the scroll saw, which comes in two broad types depending on the power source: the hand-held frame saw and the electric scroll saw. A frame saw stretches a fine blade across a bow-shaped steel frame and is worked with both hands, so the rhythm depends entirely on the user. An electric scroll saw uses a motor to move the blade up and down; the workpiece rests on the table and is pushed and turned by hand. Both can cut delicate curves, differing only slightly in feel and efficiency.
The choice of blade has a major effect on the finished puzzle. Puzzle cutting normally calls for a fine-toothed blade, which leaves a narrow kerf and small gaps between pieces, so the assembled puzzle fits together more tightly. A blade that is too coarse widens the kerf, makes the fit feel loose and easily leaves rough edges. The blade must also be tensioned properly: too loose and it drifts or breaks, too tight and it is just as likely to snap, so mounting and changing blades is a detail that takes practice.
Besides the saw, supporting tools are just as indispensable. A hand drill or small electric drill is used to make entry holes in the board in advance so the blade can reach enclosed areas. Sandpaper and files are used to refine the edges, a pencil and ruler to draw the lines, and clamps to hold the board steady. A dust mask and safety glasses are also essential, since continuous cutting produces a great deal of sawdust.
Marking Lines and Planning the Cut Shapes
Before cutting, the shapes for the whole puzzle must be planned. The maker usually draws the outlines of the pieces in pencil on the back of the image or on a separate draft. The planning must take into account the overall size, number and distribution of the pieces, and keep the lines consistent enough to avoid parts that are so thin they break easily. Good planning makes the cutting go more smoothly and also shapes the experience of assembling the puzzle.
Designing the piece shapes is the most distinctive part of a handmade puzzle. The most common connection is a protruding and recessed knob shape, where the width of the neck and the size of the head determine how firmly the pieces lock together. If the neck is too narrow, the piece breaks easily; if it is too wide, the grip is too weak. Pieces can also be given special shapes according to the image, so that objects in the picture appear as complete outlines, adding to the fun of assembling it.
During planning, attention should also be paid to the direction of the wood grain and to how stress is distributed. Long, thin sections running along the grain split more easily, so the lines are best routed away from such weak spots. Some makers deliberately make some lines irregular to reduce the chance of similar-looking pieces being mixed up, which raises the difficulty. Common considerations when marking lines include the following:
- Keep piece sizes fairly even, avoiding pieces so small they break easily
- Give the knob necks a moderate width, balancing grip and strength
- Route lines away from weak spots in the grain
- Adapt shapes to the image to aid recognition and add variety
Cutting Rhythm and Control
The rhythm of cutting depends on whether the hand movements are steady and even. A scroll saw blade only cuts the wood on the downstroke, so on the upstroke you should relax and apply no force. The stroke should be full, so that the entire length of the blade does the work, which both dissipates heat and slows tooth wear. A common problem for beginners is a speed that keeps changing, producing a kerf of uneven width, which later results in a fit that is tight in some places and loose in others.
How the board is moved matters just as much. Most workers keep the blade fixed and turn the board, resting both hands lightly on the surface and feeding the wood slowly along the marked line. The feeding force should only guide, never push; otherwise, the blade bends and wanders and the cut face comes out slanted. At a sharp turn into a protrusion or notch, let the blade run lightly in place first, then turn the board slowly, so the blade does not jam in the narrow spot and snap.
Controlling force and line of sight are two further keys to precision. The eyes should rest on the line ahead of the blade, not on the blade itself, so that you can judge in advance where to turn. Supporting the board from underneath reduces tear-out at the end of the cut. After each piece, it is advisable to pause briefly and check that the lines are still clear. Long stretches of continuous work cause fatigue and increase small tremors in the hands, so taking breaks at the right moments is itself part of quality control.
Edge Finishing and Assembly Testing
After cutting, the edges of every piece carry fine burrs and lifted wood fibers. Though barely visible, these marks affect how the pieces fit together and how they feel. Finishing is usually done with fine sandpaper or a small file, passed lightly along the cut face with just enough pressure to remove the burrs without changing the shape of the piece. If too much is sanded away, the gap between knob and socket grows, and the finished puzzle loses its proper snugness.
The front and back are treated slightly differently. The printed surface layer needs special protection, so the sandpaper must not cross the edge and scratch the surface; the back can be sanded a little flatter so the pieces do not wobble on the table. While finishing, also watch for cracks or loose joints. Flaws found at this stage can still be fixed, whereas dealing with them after the puzzle is finished is much harder.
The last step is the assembly test. Once all the pieces have been finished, the whole puzzle must be fully assembled once to confirm that every piece fits in smoothly, with nothing too tight or too loose. During the test, keep the following points in mind:
If an individual piece does not fit, go back and make a small local adjustment rather than forcing it in. Only after passing the test is the puzzle ready for delivery or for a collection.
- Whether the pieces lock together firmly without effort
- Whether the assembled surface is flat, with no uneven steps between pieces
- Whether the edge outline is intact, with no chipped corners or cracks
- Whether the piece count is complete, with none missing or duplicated
Handmade vs. Machine-Made: What Sets Them Apart
The fundamental difference between hand-sawn and machine-cut puzzles lies in where the shapes come from. A machine repeats the same path from a digital file, so every piece has a precise, consistent outline and output stays steady. By hand, a craftsperson saws each piece along the drawn lines, and every piece carries small individual variations. These variations are not flaws but hallmarks of handmade work, and they mean two puzzles of the same design will never be identical in every detail.
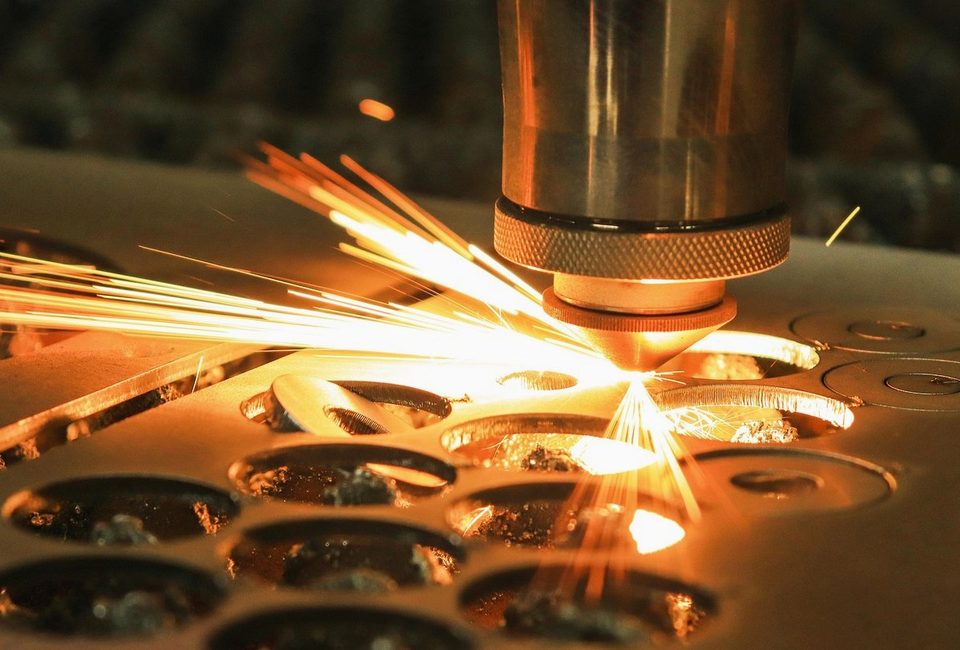
The cut surface and the feel in the hand differ as well. Laser cutting leaves a faint charred mark along the edges and a very fine kerf, so pieces often interlock very tightly. A scroll saw's kerf depends on the blade thickness, and the edges keep the natural color of the wood, feeling warmer and smoother after sanding. Hand work can also handle more complex, irregular curves and makes it easy to adjust the cut to follow the wood grain, which a fixed program struggles to do.
Which method to choose depends on the purpose. For puzzles that need to be made in quantity, to a uniform specification and at a stable price, machine cutting is the better fit. For those who value distinctive shapes, personalized designs or collectible appeal, hand sawing better shows off the character of the craft. Neither method is better in any absolute sense; each meets a different need. Understanding these differences helps you make choices that match your expectations when selecting or commissioning a puzzle.
This article provides general information only and does not constitute professional advice.