Assembly Techniques for Challenging Adult Puzzles
The challenge of a difficult puzzle usually comes from similar colors, a missing border or near-identical piece shapes. This article sets out a method you can follow step by step; the first half explains how to judge difficulty, sort pieces and establish anchor points.
Key takeaways
-
Differences Over Instinct When facing similar color areas, build a comparable sequence based on brightness, color temperature and reflection direction, rather than trying pieces one by one on feel alone.
-
Shape Is a Reliable Clue When the image offers no clues, the number, thickness and curvature of the knobs and sockets can help you sort pieces and work out which ones fit next to each other.
-
When you're stuck, adjust rather than push on Take a break, change the lighting and viewing angle, re-sort by new criteria, and be willing to take apart any section hiding a subtle error. That is how you keep the whole puzzle moving forward.
First, Identify Where the Difficulty Comes From
Before you start assembling, spending a little time working out exactly where a puzzle's difficulty comes from is often more efficient than diving straight in. Common sources include large areas of a single tone, gradual color transitions, repeating textures and borderless designs with no straight edges. Each source calls for a different strategy, and applying the same approach to all of them tends to waste a lot of time midway. Observing first and choosing a method afterward is therefore a sensible starting point for difficult puzzles.
To judge, start with the picture on the box, then look at the backs of the pieces and their overall shapes. If the image is mostly even blocks of color such as sky, sea or a wall, color matching will be limited and shape becomes the main clue. If the image is richly detailed but the hues are close, pay attention to brushstrokes, light and shadow, and the direction of textures. For wooden puzzles, piece thickness and cutting lines can also provide extra information, so keep an eye out for them at this stage.
You should also check your own working conditions, such as table size, lighting and how much time you can commit. Difficult puzzles usually take several sessions, so setting aside a work area where the puzzle can stay put prevents the assembled sections from coming loose when moved. Lighting should be even and free of glare so that the grain and color of the wood surface are not misjudged. These preparations may seem minor, but they directly affect the stability of every step that follows.
The Basics of Sorting Pieces
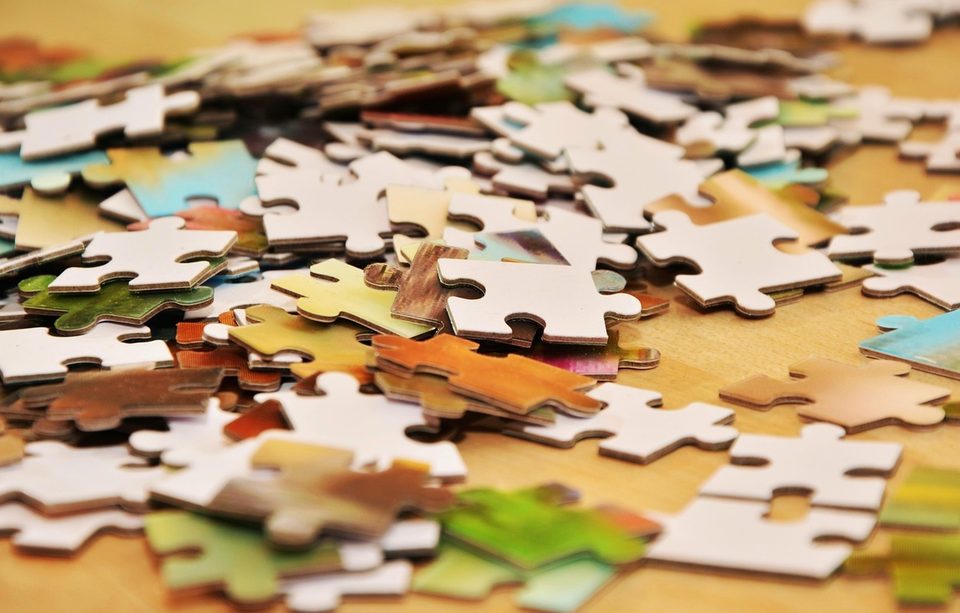
Sorting is the most fundamental step when dealing with a large number of pieces. We suggest laying all the pieces face up and dividing them into groups by their main characteristics, rather than trying to compare them two by two from the start. The purpose of sorting is to narrow the search, so that each search draws from a small pile rather than the whole box. This approach is especially effective when the piece count is large.
Sorting can proceed layer by layer, from coarse to fine. The first layer is usually color family, such as cool, warm, dark and light; the second layer subdivides by texture, line direction or local pattern. If the image has almost no color variation, you can group by the shape characteristics of the pieces instead. Groups need not be precise; it is enough that each pile has a clear visual common point, and you can adjust as assembly progresses.
In practice, shallow trays or compartmented containers keep the sorting results clear and make pieces easy to reach. Here are a few principles to follow when organizing pieces:
Once sorting is done, go back and review each pile from time to time, because you will find during assembly that some of your original judgments were off. Adjusting the groups as needed is essential to keeping the whole process running smoothly.
- Sort roughly by color family first, then subdivide by texture or line direction
- Put only one characteristic in each container to avoid mixing
- Keep pieces confirmed as edge pieces in a separate place
- Set aside a separate pile for uncertain pieces and deal with them later
- Review the sorting as you progress and reassign pieces when necessary
Start with the Border and Anchor Points
With a puzzle that has a border, the usual approach is to find all the straight-edged pieces first, then arrange them into the frame according to pattern and color. Once the border is done, the extent and dimensions of the whole picture are fixed, and the remaining pieces have a clear point of reference. Border pieces in a wooden puzzle are also easy to spot by their straight edges and corner shapes. This step is rarely difficult, yet it greatly reduces confusion later on.
Borderless designs call for anchor points of their own. Start with the most recognizable areas of the image, such as parts with distinct lines, lettering, high-contrast objects or unusual colors, and assemble the related pieces into several small, separate clusters. These clusters are your anchors. Then use the picture on the box to work out their relative positions in the full image, and gradually link the scattered clusters together.
Spread your anchor points out rather than clustering them on one side, or gaps are likely to appear when you join everything up later. After finishing a cluster, you can set it down temporarily at its estimated position and keep checking it against the box picture. If you find it is misplaced, moving it early is far easier than taking large sections apart later. Solid anchor points are the key to keeping the whole puzzle in order when there is no border.
How to Match Similar Color Areas
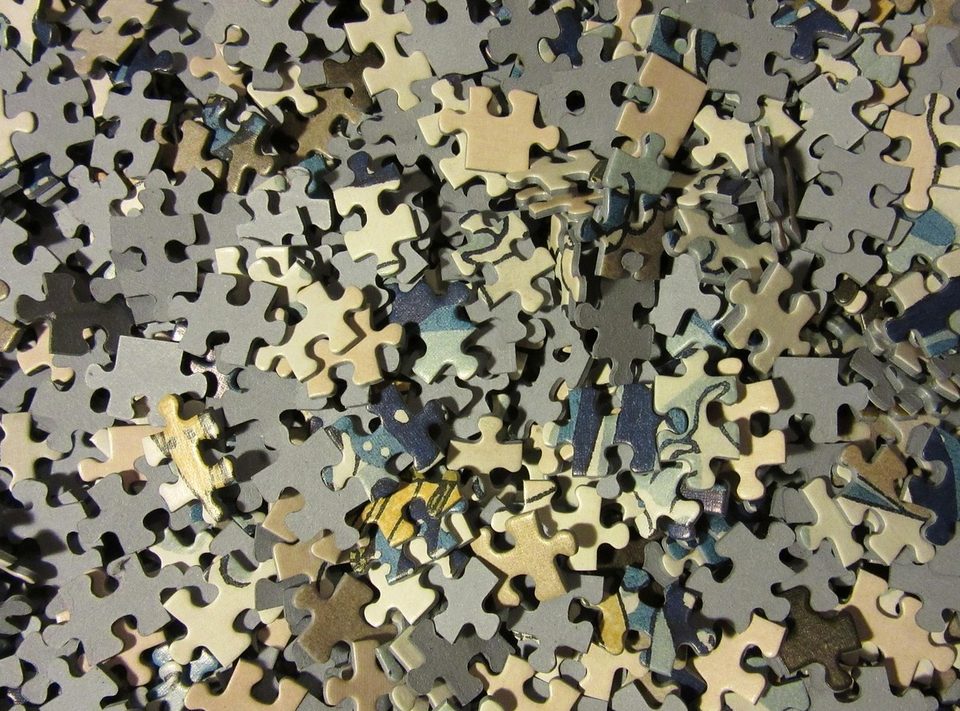
The heart of matching similar colors is breaking "looks the same" down into differences you can actually tell apart. Even in one stretch of sky or sea that seems uniform to the eye, there are subtle variations in brightness, saturation and whether the tone leans cool or warm. We recommend working under steady, bright natural or white light, since yellow light can distort your color judgment. When matching, first line the pieces up in a gradient from light to dark, then narrow the range step by step instead of trying pieces at random one at a time. This turns a muddle of similar colors into an ordered sequence you can follow.
Wooden puzzles offer extra clues at this stage. Laser-cut edges often carry a light brown scorch mark whose depth and width vary slightly along the cutting path, and the direction of the wood grain and the surface sheen can help too. Tilt a piece slightly and see whether the direction of the reflection runs on continuously; this often reveals whether two pieces come from neighboring areas. These clues have nothing to do with the printed image, yet they are quite reliable, which makes them useful when the picture itself gives you too little to go on.
When matching, you can try the following approaches in order, without needing to use all of them at once:
Test-fit only one small area at a time, and expand once you've confirmed the join looks natural; this keeps mistakes from piling up unnoticed until late in the puzzle. If the color transition between two pieces isn't continuous, set them aside rather than forcing them together, even if the shapes just about fit. Wooden pieces are thick, and pressing hard can wear down the corners and edges, so when you're unsure, it's better to put a piece aside than to keep trying it again and again with force.
- Arrange pieces in a gradient by brightness and color temperature to narrow the matching range
- Tilt pieces to check whether the direction of reflection is continuous
- Compare the wood grain direction and the scorch marks on the cut edges
- Verify only one small area at a time, then expand gradually
Using Shape Instead of Image
When the image gives you too little information, the shape of the pieces becomes your main guide. Every piece has protruding tabs and recessed slots, and the combination of their number, position and curvature gives it its character. You can first sort pieces by the number of tabs and slots, then compare the thickness of the tabs, the width of the necks and the overall lean of the piece. This method of sorting requires no color recognition at all, so it is especially useful in large single-color areas where there is almost no picture to follow.
The cutting lines of laser-cut puzzles are usually precise and regular, unlike traditional die-cut puzzles, where similar shapes tend to repeat. Some designs deliberately include irregular cut lines or embed oddly shaped pieces in the image, and these special shapes can serve as local anchor points. When you come across such a piece, first work out where it might sit in the image, then extend outward from it; this is more efficient than starting in a monotonous area.
In practice, pick up a piece, think about what shape of neighbor it needs, and then look through the same pile for a matching slot or tab. This way of thinking, working backward from shape, is the opposite of the habit of looking at the picture to find a piece, and it takes some practice to feel natural. We suggest getting familiar with it in a small area first. Once you can quickly judge which kind of tab a given slot will probably take, apply it to the whole puzzle, and both your speed and accuracy will improve noticeably.
Adjustments When You Get Stuck
Getting stuck while assembling a puzzle is common, and it usually doesn't mean your method is wrong, only that the information you have has run out for now. At this point you can pause, step away from the table for a while, and then come back and look again. Staring at the same area for too long makes your eyes settle into existing misjudgments, and after a short break, details you had overlooked often resurface. It is a simple and effective adjustment that needs no extra tools.
If there is still no progress after a break, change the conditions of observation. Stand at a different angle, or look at the table again under different lighting; take a photo of the completed areas and shrink it down to view the overall color distribution, which can sometimes reveal that a color area has been placed wrongly. You can also re-sort the unused pieces by a new standard, such as shape features rather than color, and you will often find pieces that were previously put in the wrong pile.
Finally, check the finished areas for hidden errors. Some pieces seem to fit but actually leave a slight gap or a difference in height, and this kind of problem throws off every later connection. When something feels off, being willing to take a section apart and redo it often saves more time than pushing on stubbornly. Staying patient and flexible, and treating a stall as a signal to adjust your strategy, is how you reliably finish a high-difficulty puzzle.
This article provides general information only and does not constitute professional advice.